Build a simple JP1 cable
From TIAO's Wiki

10 PCS, 10cm x 10cm, 2 layers prototype for $38.80 shipped!
Contents
Buy Communication Cable for Universal Remote Controls from http://www.easymg.com or http://www.diygadget.com
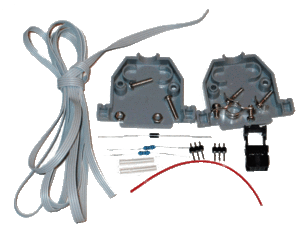
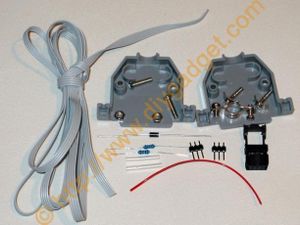
Parts List
- 4 feet of flat ribbon cable
- DB25 Housing with Grommet, scews and wire holders
- DB25 connector
- 1.0k resistor X 2 (necessary for Kameleon and other remotes)
- 1N5818 schottky diode works for both desktops and laptops
- 6 pin female IDC connector to fit your remote (with strain relief)
- 6 pin male header
Let's make it
- Familiar with all the components.
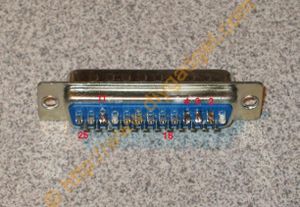
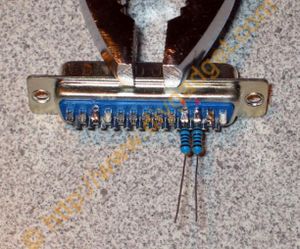
- Put few melted solder into the cup 2, 3, 4, 11, 18 and 25 of the DB25 male connector as shown in picture.
- Put few melted solder into the cup 2, 3, 4, 11, 18 and 25 of the DB25 male connector as shown in picture.
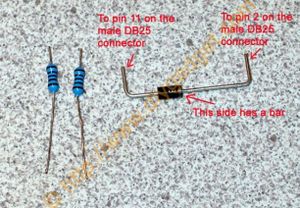
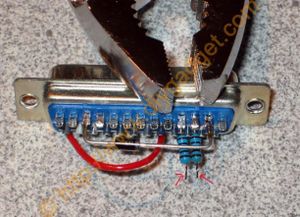
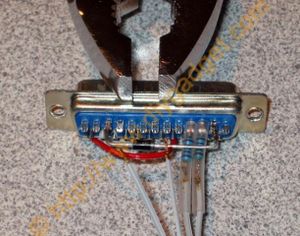
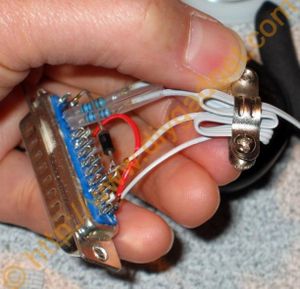
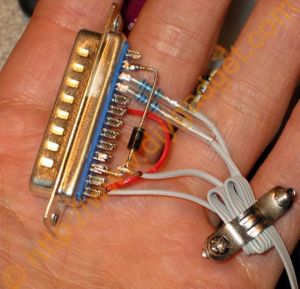
- Locate two 1K resistors and IN5818 diode. Pay attention to the solid bar on the diode. Cut down two resistors as shown in the photo, also bend the diode into shape to fit between pin 2 and 11 of the male DB25 connector (about 1 inch). Cut the terminals of diode to a proper size as shown in the photo.
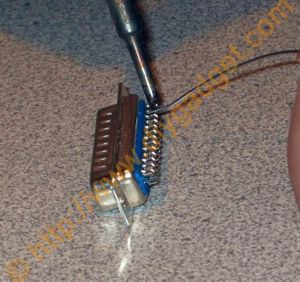
- Solder two resistors on the pin 3 and 4 of the DB25 connector.
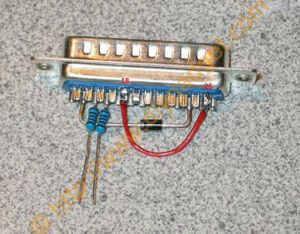
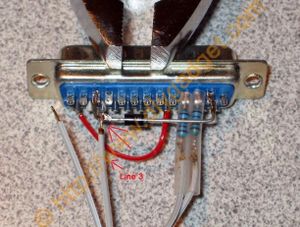
- Solder the diode between pin 2 and 11 of the DB25 connector. The solid bar on the diode should be colsest to cup 2. Cut the supplied wire into two pieces. Use one piece to make a connection between pin 25 and 18 of the DB25 connector.
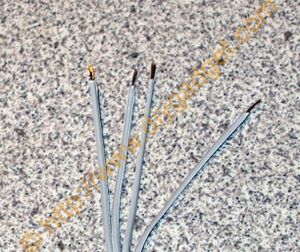
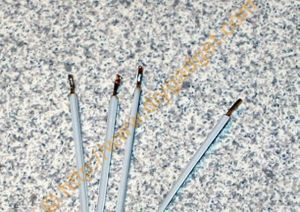
- Strip the robbin cable.
- Put few melted solder onto the bare wires.
- Put few melted solder onto two resistors.
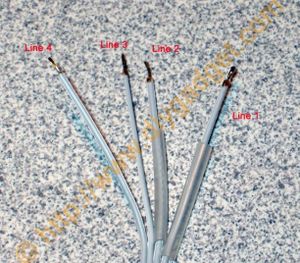
- Put the heat shrink tube on line 1 and 2 of the robbin cable.
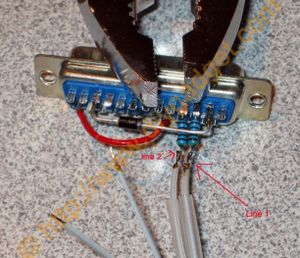
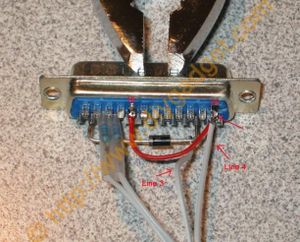
- Solder line 1 and 2 onto resistors. Line 1 is connected to pin 3 of DB25 connector via a resistor. Line 2 is connected to pin 4 of the DB25 connector via a resistor. When soldering, put the heat shrink tube far away form the soldering point, otherwise the tube will shrink
- Wait untill soldering points are cold. Pull the heat shrink tube up to the pins to prevent short circuit.
- Solder line 3 onto pin 11 of the DB25 connector.
- Solder line 4 onto pin 25 of DB25 connector.
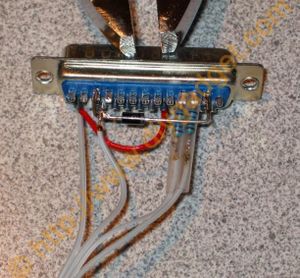
- Soldering is completed.
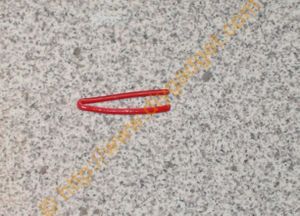
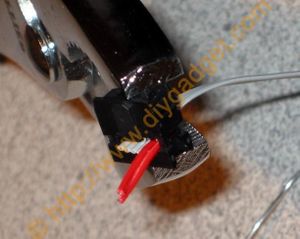
- Bend another piece of the wire as shown in the picture.
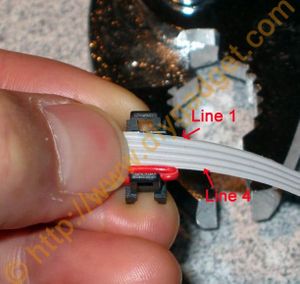
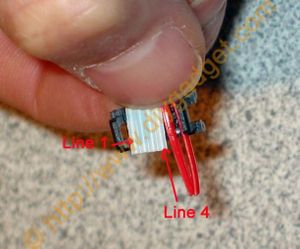
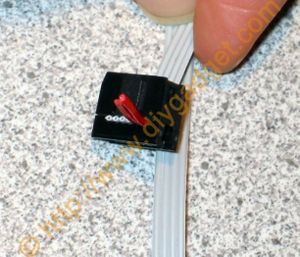
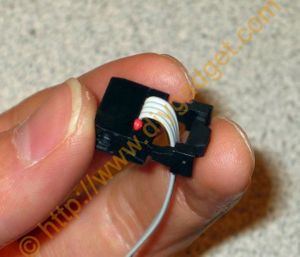
- Align wires on the IDC connector. Make sure line 1 is facing outside, and line 4 is facing inside. Line 4 should be closest to the bended wire (red wire in the picture).
- Align wires on the IDC connector. Make sure line 1 is facing outside, and line 4 is facing inside. Line 4 should be closest to the bended wire (red wire in the picture).
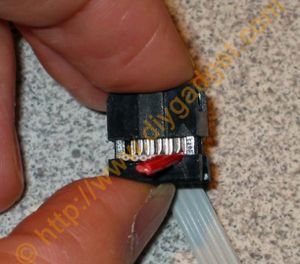
- Squeeze two halves of the IDC connector together until both retainer loops snap over the ribs and lie flat against the sides.
- Squeeze two halves of the IDC connector together until both retainer loops snap over the ribs and lie flat against the sides.
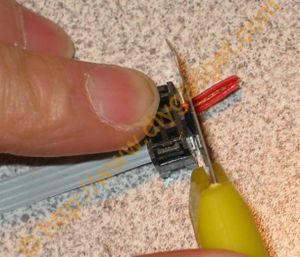
- Cut the wires outside of the IDC connector.
- Cut the wires outside of the IDC connector.
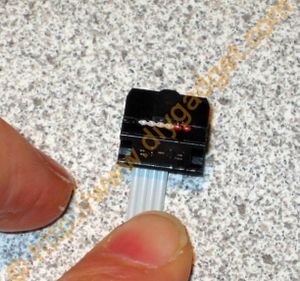
- After cutting.
- Put the strain relief onto the IDC connector. Squeeze the strain relief and the IDC connector.
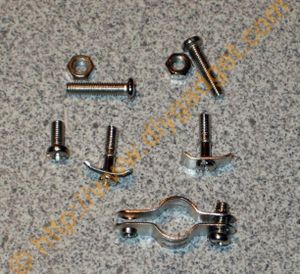
- Prepare the sockets and wire holders as shown in the picture.
- Take the two wire holders and clamp them onto the cable.
- Take the two wire holders and clamp them onto the cable.
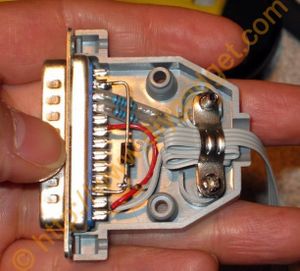
- Put the DB25 connector into one half of the DB shell.
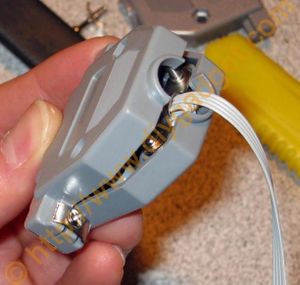
- Before closing up the DB25 shell, take the two screws that have a ridge in the middle and insert them into the two square shaped washers, then position these two screws into the holes on the either side of the DB25 shell.
- Before closing up the DB25 shell, take the two screws that have a ridge in the middle and insert them into the two square shaped washers, then position these two screws into the holes on the either side of the DB25 shell.
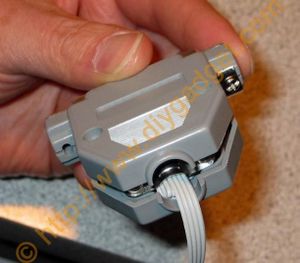
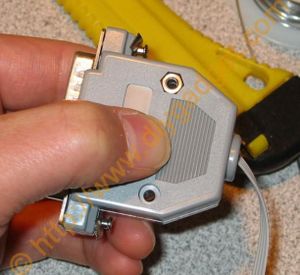
- Close up the DB25 shell.
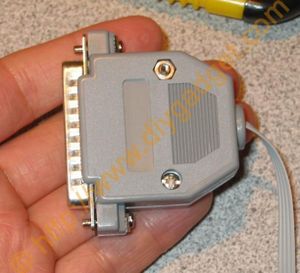
- Side view.
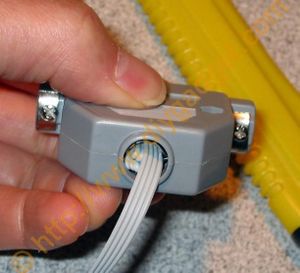
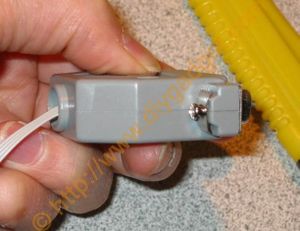
- Use the remaining two screws and nuts to finish the assembling.
- Use the remaining two screws and nuts to finish the assembling.
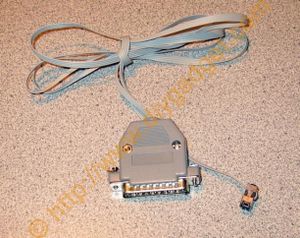
- Congratulations! You are done! Click ccx on how to connect the cable to your computer.
Buy Communication Cable for Universal Remote Controls from http://www.easymg.com or http://www.diygadget.com

10 PCS, 10cm x 10cm, 2 layers prototype for $38.80 shipped!
